
Step-by-Step Guide to Designing Consistent PowerPoint Presentations
Title:
Step-by-Step Guide to Designing Consistent PowerPoint Presentations
Description:
To strengthen your branding within PowerPoint, consider developing a personalized template. Begin by crafting s that incorporate your organization’s color palette, typography, and logo. Once you have completed your design, save the file as a PowerPoint Template (.potx). To set this template as your default, navigate to the "File" menu, select "Options," then go to "Save," and designate your template as the standard option. If you wish to implement your custom template in an existing presentation, open that file, click on the "Design" tab, and select "Browse for Themes" to apply your template. Furthermore, PowerPoint offers design tools that facilitate the creation of simple logos, allowing for seamless integration of your branding throughout your presentations. This approach ensures that your presentations maintain a cohesive look and effectively represent your organization's identity. – PowerPoint PPT presentation
Number of Views:0
Title: Step-by-Step Guide to Designing Consistent PowerPoint Presentations
1
PowerPoint Template Frequently Asked Questions
Explained
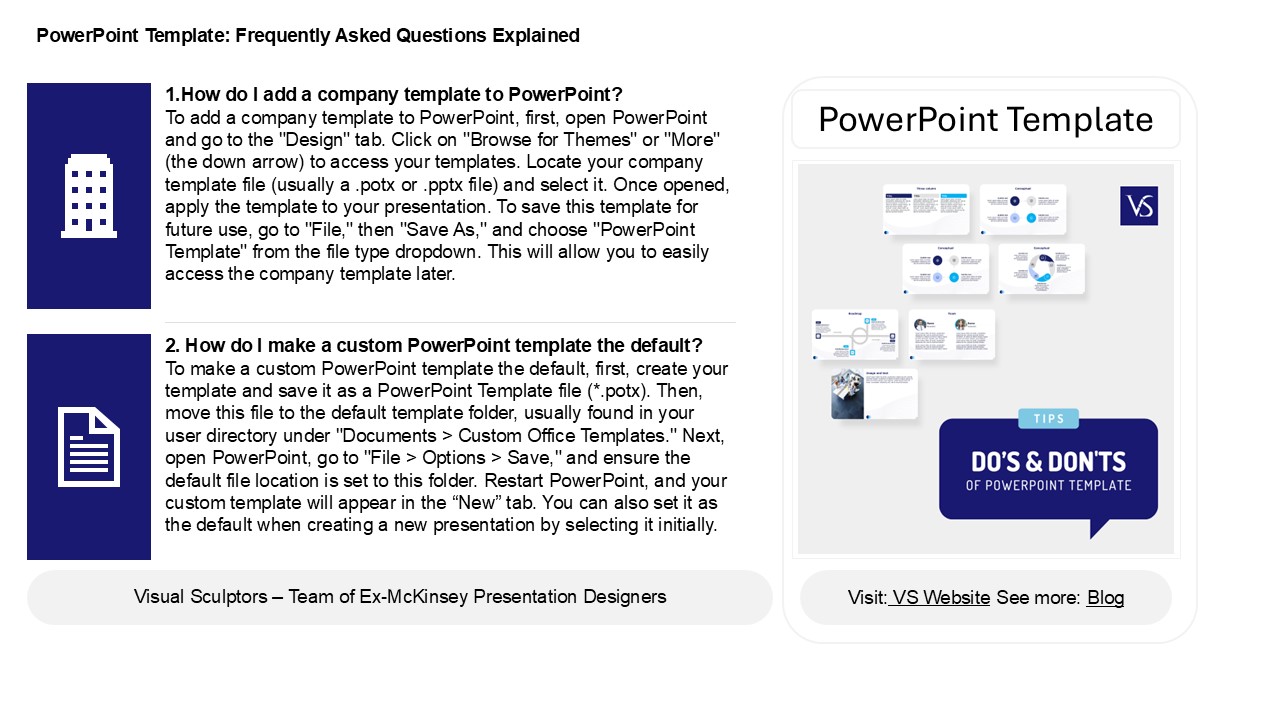
1.How do I add a company template to PowerPoint?
To add a company template to PowerPoint,
first, open PowerPoint and go to the "Design"
tab. Click on "Browse for Themes" or "More" (the
down arrow) to access your templates. Locate your
company template file (usually a .potx or .pptx
file) and select it. Once opened, apply the
template to your presentation. To save this
template for future use, go to "File," then "Save
As," and choose "PowerPoint Template" from the
file type dropdown. This will allow you to easily
access the company template later.
PowerPoint Template
2. How do I make a custom PowerPoint template the
default? To make a custom PowerPoint template
the default, first, create your template and save
it as a PowerPoint Template file (.potx). Then,
move this file to the default template folder,
usually found in your user directory under
"Documents gt Custom Office Templates." Next, open
PowerPoint, go to "File gt Options gt Save," and
ensure the default file location is set to this
folder. Restart PowerPoint, and your custom
template will appear in the New tab. You can
also set it as the default when creating a new
presentation by selecting it initially.
2
Power Point Template Frequently Asked Questions
Explained
3. Can I Design a logo in PowerPoint? Yes, you
can design a logo in PowerPoint. While it's
primarily a presentation tool, PowerPoint offers
various shapes, text options, and design features
that allow for basic logo creation. You can use
features like SmartArt, icons, and formatting
tools to combine elements creatively. However,
for more advanced logo design, consider using
graphic design software like Adobe Illustrator or
Canva, which provide more specialized tools and
options. Once completed, you can save your logo
as an image file for use elsewhere.
4. How to apply a custom PowerPoint template to
an existing presentation? To apply a custom
PowerPoint template to an existing presentation,
open your presentation and go to the "Design"
tab. Click on "Browse for Themes" or "More" to
find your custom template file (.potx or .thmx).
Select the template to apply it. If needed, you
can adjust the slide master for consistent
formatting. For specific slides, right-click on
the slide and select "Layout" to choose a layout
from the new template. Ensure that you save your
presentation to keep the changes.
5. How do I load a custom template in PowerPoint?
To load a custom template in PowerPoint, follow
these steps 1. Open PowerPoint and go to the
File menu. 2. Select New. 3. Click on
Custom or Personal to find your saved
templates. 4. If your template isnt listed,
choose Browse and navigate to the location of
your .potx or .pptx file. 5. Select the template
file and click Create or Open.
Recommended
CrystalGraphics Presentations


