AutoShapes - PowerPoint PPT Presentation
1 / 12
Title:
AutoShapes
Description:
Next, Copy and paste one of your shapes into the box, adjusting the shape's size ... Change the order of the objects so that the ... Scooby Doo. Voltron ... – PowerPoint PPT presentation
Number of Views:159
Avg rating:3.0/5.0
Title: AutoShapes
1
AutoShapes
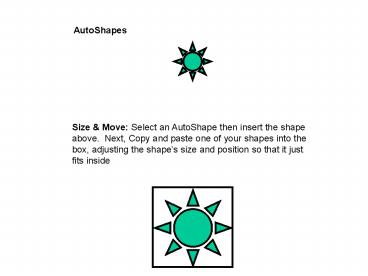
Size Move Select an AutoShape then insert the
shape above. Next, Copy and paste one of your
shapes into the box, adjusting the shapes size
and position so that it just fits inside
2
Change the order of the objects so that the
triangle is on top, the moon is next, then the
sun, and the arrow is on the bottom.
3
Horizontal Align Line up the bolts with the one
at the top
Vertical Align Center align the push pins
Align Distribute Bottom align and evenly space
out the hearts
4
Line Color Thickness Make each line a
different color and thickness.
5
Connect the dots Draw separate straight lines
between consecutively numbered points
3
5
6
2
7
1
4
6
Face Parts
7
Face Parts
8
Face Parts
9
The Face
Using the parts from the previous three slides,
create a funky funny face. The completed face
should be grouped into ONE vector graphic.
10
Make a Bullet
Use Your Bullet
Use the tools youve learned to make a bullet
it should be quite large here
Copy your bullet and paste it in front of each
list item, making sure it is an appropriate size
Powerpuff Girls Dexters Laboratory Scooby
Doo Voltron
11
example
Note the black squares show the attachment points
Slalom Draw a thick blue, curve that goes below
each red marker and above the green ones follow
the pattern shown above move the curve as
necessary
12
File Management Diagram Based on this figure,
create a hierarchical diagram with the A\ as the
root directory using rectangles.
A/
stuff
junk
good
tomorrow
today
good


