
Blood Typing Lab - PowerPoint PPT Presentation
1 / 5
Title:
Blood Typing Lab
Description:
Blood Typing Test Blood Typing Lab 8th Grade Forensic Science Blood Typing Test The Crime A small puddle ... Agglutination = Clumping No clumping Clumping What is ... – PowerPoint PPT presentation
Number of Views:364
Avg rating:3.0/5.0
Title: Blood Typing Lab
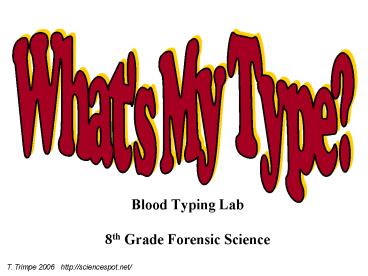
1
What's My Type?
- Blood Typing Lab
- 8th Grade Forensic Science
T. Trimpe 2006 http//sciencespot.net/
2
The Crime A small puddle of blood and a weapon
was found near a garbage can. After examining
the area, the CSI on the scene discovered a body
in the garbage can and identified him as Earnest
One-Eyed Earl. Earl had a wound to his chest
that will be analyzed by the medical
examiner. The CSI tested blood samples from the
puddle and weapon at the crime scene and
determined that it was human blood, but he needs
to know the blood type to help identify if it was
from the victim or the person who murdered him.
He has identified three suspects that either knew
the victim or were seen in the area before the
body was discovered.
Follow your teachers directions to complete the
lab. Remember to be careful to prevent
cross-contamination of the blood samples!
Image http//www.fbi.gov/publications/leb/2005/ap
r2005/apr2005leb_img_3.jpg
3
Blood Typing Test
Reactions w/ Anti-A Serum Reactions w/ Anti-B Serum Blood Type
Agglutination () No Agglutination (-) A
No Agglutination (-) Agglutination () B
Agglutination () Agglutination () AB
No Agglutination (-) No Agglutination (-) O
We will be determining blood types using Anti-A
serums, Anti-B serums, and Anti-RH serums. Use
the chart to help you determine the blood type of
each sample and its Rh factor ( or
-). Agglutinins Antibodies
Rh Serum - Clumping Rh blood
Directions Step 1 Lay out a typing tray and
three toothpicks from your kit on a paper towel.
Step 2 Place 2 drops of the blood sample in
each well on the typing tray. Step 3 Place 2
drops of the anti-A serum on the blood in the A
well. Step 4 Place 2 drops of the anti-B serum
on the blood in the B well. Step 5 Place 2
drops of the anti-Rh serum on the blood in the Rh
well. Step 6 Use three clean toothpicks to stir
the serum into each sample for 30 seconds.
4
Step 7 Record your observations in the correct
section on the back of your worksheet and use the
reaction chart on the front page to determine the
blood type. Step 8 Complete the other
sections using information from your classmates.
What is this persons blood type?
Answer B
5
Use or to show the test results for each
sample and then determine the blood type.
Recommended
CrystalGraphics Presentations


