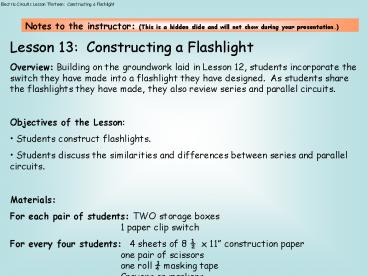
Lesson 13: Constructing a Flashlight
1 / 8
Title:
Lesson 13: Constructing a Flashlight
Description:
As students share the flashlights they have made, they also review series and parallel circuits. ... Crayons or markers ... Colored pencils, crayons or markers ... – PowerPoint PPT presentation
Number of Views:213
Avg rating:3.0/5.0
Title: Lesson 13: Constructing a Flashlight
1
Notes to the instructor (This is a hidden slide
and will not show during your presentation.)
- Lesson 13 Constructing a Flashlight
- Overview Building on the groundwork laid in
Lesson 12, students incorporate the switch they
have made into a flashlight they have designed.
As students share the flashlights they have made,
they also review series and parallel circuits. - Objectives of the Lesson
- Students construct flashlights.
- Students discuss the similarities and
differences between series and parallel circuits. - Materials
- For each pair of students TWO storage boxes 1
paper clip switch - For every four students 4 sheets of 8 ½ x 11
construction paper one pair of scissors one
roll ¾ masking tape Crayons or markers
2
Add a photo here of your own class
Lesson Thirteen
Constructing a Flashlight
3
Think and Wonder
Flashlights come in many shapes and sizes, but
they have several things in common. You have
already listed the important parts of a
flashlight. What do you know about circuits that
might be useful in making a flashlight? -
4
Materials Manager For each pair of students
TWO storage boxes 1 paper clip switch For
every four students 4 sheets of 8 ½ x 11
construction paper one pair of
scissors one roll ¾ masking tape Colored
pencils, crayons or markers -
-
5
Notes to the instructor (This is a hidden slide
and will not show during your presentation.)
Note if you do not plan to have the students
create a PowerPoint presentation as per slide 9,
you will need to change how the second bullet of
the following slide reads.
6
In your Laboratory Record Book
- Using the designs you made in Lesson 12, you are
going to build a flashlight with your partner. - When we are all finished, we will present them
to the entire class using PowerPoint so be sure
to take several digital photos of your flashlight
in progress. -
7
In your Laboratory Record Book
- Make a drawing AND a circuit diagram of your
flashlight in your LRB. - Take a digital photo of your flashlight and
place it in your LRB. - 4. If you finish before everyone else, use
your colored pencils to decorate your
flashlight. -
8
- Prepare a presentation for the class. You must
include - A description of the process of building your
flashlight - Any difficulties you had to overcome
- A demonstration of how the flashlight works
- A large version of the circuit diagram you used
to build your flashlight - Identify the type(s) of circuits you used -
9
Notes to the instructor (This is a hidden slide
and will not show during your presentation.)
As a way of helping students be organized and
give a professional presentation, you may want to
use this hyperlinked PowerPoint template. It
includes all the required elements plus it allows
students to be more creative. There is also a
rubric that can be used by the teacher and
audience for scoring.
Rubric
10
Materials Manager Please return all materials to
the distribution center. -
11
In your Laboratory Record Book
Update your Table of Contents. -


