Prairie Dog Town Relocation - PowerPoint PPT Presentation
1 / 6
Title:
Prairie Dog Town Relocation
Description:
Interpretation of Aerial Photographs and Overlay Analysis Teacher Guide This activity provides an introduction to both aerial photograph interpretation and GIS. – PowerPoint PPT presentation
Number of Views:90
Avg rating:3.0/5.0
Title: Prairie Dog Town Relocation
1
Interpretation of Aerial Photographs and Overlay
Analysis
Teacher Guide
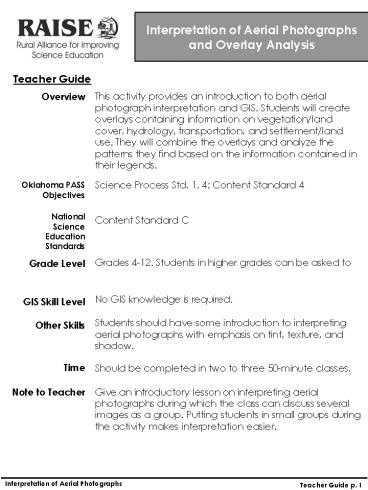
This activity provides an introduction to both
aerial photograph interpretation and GIS.
Students will create overlays containing
information on vegetation/land cover, hydrology,
transportation, and settlement/land use. They
will combine the overlays and analyze the
patterns they find based on the information
contained in their legends.
Overview
Science Process Std. 1, 4 Content Standard 4
Oklahoma PASS Objectives
National Science Education Standards
Content Standard C
Grades 4-12. Students in higher grades can be
asked to
Grade Level
No GIS knowledge is required.
GIS Skill Level
Students should have some introduction to
interpreting aerial photographs with emphasis on
tint, texture, and shadow.
Other Skills
Should be completed in two to three 50-minute
classes.
Time
Note to Teacher
Give an introductory lesson on interpreting
aerial photographs during which the class can
discuss several images as a group. Putting
students in small groups during the activity
makes interpretation easier.
Interpretation of Aerial Photographs
Teacher Guide p. 1
2
Interpretation of Aerial Photographs and Overlay
Analysis
Teacher Guide
Materials
- color or black and white aerial photograph for
each student - USGS topographic maps covering area of photo
(124000 preferred) - wet erase overhead markers (at least 4 colors
and enough sets for each group of four) - transparencies (thinnest possiblestudents will
overlay multiple transparencies on overhead for
viewing) - small, thin rulers for each student
The teacher should be familiar with the area in
the photograph and be prepared to answer
questions about land use. A data record is
included in this exercise. The teacher may want
to make multiple copies for each group of
students.
Developed by Brad W. Watkins bwatkins1997_at_yahoo.co
m
Interpretation of Aerial Photographs
Teacher Guide p. 2
3
Interpretation of Aerial Photographs and Overlay
Analysis
Landscape ecologists and geographers
can collect information about study areas before
going into the field by using a trained set of
eyes. Interpreting aerial photographs or images
is a form of remote sensing that provides a fast
way to obtain information and plan field work.
In this activity, you are responsible
for creating a set of environmental overlays that
can be used to assess vegetation composition and
human impact of an area. You will work as part of
a team and will share your ideas with each other
as you work. You will learn about the study area
as you create your overlays. This exercise will
help you understand how different components of
an environment, both natural and human-made,
interact.
4
Preparing the Photo
1. Tape your aerial photograph to the table or
desk in front of you. Make sure it is close
enough to you that you easily can view the entire
photo. 2. Tape a transparency over the
photograph. This is where you will make your
markings. Write your name at the top or side of
the photograph. 3. You must create a set of
common markings (called fiducial marks) that will
be on each component overlay (see below). This
will allow you to match up the overlays on the
overhead projector. Remember to keep the overlay
still while you are marking information.
overlay
Interpretation of Aerial Photographs
2
5
Using Your Eyes
4. Use your eyes to examine the scene in the
photograph. Think about what kind of photo at
which you are looking. Is it color or
panchromatic (black and white)? Think about how
this might change your interpretation. 5. Your
group will create a set of four overlays for the
scene covering - vegetation / land cover -
hydrology - transportation - settlement /
land use Ask your teacher to define these if
necessary. Use the following colors for the
components green for vegetation/land cover
blue for hydrology black for transportation
red for settlement/land use 6. Begin
marking information onto your overlay depending
on your category. You need to have several
categories for your overlay. For example, with
vegetation/land cover you might have the
following categories forest, woodland,
grassland, wetland, pasture, etc. 7. You will
need to create a legend for your overlay. This is
necessary when others look at your overlays.
Eventually you will have to combine all of the
overlays so make sure the legends from different
overlays do not overlap.
Interpretation of Aerial Photographs
3
6
Using Your Eyes
8. Give a presentation with your group in which
you overlay all transparencies. Be sure to
discuss your individual findings as well as how
what you found is connected to the other
components.
Interpretation of Aerial Photographs
4


