AutoDesk Inventor Tutorial - PowerPoint PPT Presentation
1 / 12
Title:
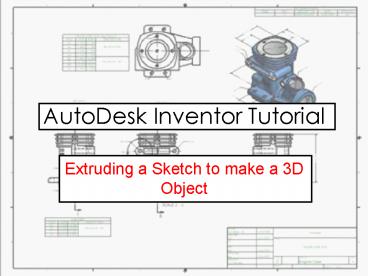
AutoDesk Inventor Tutorial
Description:
Extruding a Sketch to make a 3D Object ... Click on the EXTRUDE icon. ... You are able to give a specific distance you wish to extrude to or in which direction. ... – PowerPoint PPT presentation
Number of Views:841
Avg rating:3.0/5.0
Title: AutoDesk Inventor Tutorial
1
AutoDesk Inventor Tutorial
- Extruding a Sketch to make a 3D Object
2
When you first open AutoDesk Inventor you will
need to start a new file. You must first click on
the METRIC tab. Followed by the icon called
STANDARD (mm).IPT. This is an Inventor PART.
3
This is your new drawing area. The toolbar on
the left is your 2D SKETCH PANEL. This contains
tools which will enable to draw your PART. The
toolbar on the right is the MODEL or BROWSER bar.
This bar enables you to see any sketches or
features you have used when creating the PART.
Much like a HISTORY of the PART.
4
(No Transcript)
5
(No Transcript)
6
After you have fully CONSTRAINED your sketch with
dimensions you will need to EXTRUDE your square
into a cube.
7
Click on the EXTRUDE icon. Immediately the square
will become highlighted because it is the only
PROFILE available. Inventor is assuming this is
the shape you wish to use.
8
(No Transcript)
9
In order to add or subtract to/from this part a
NEW SKETCH must be created on a surface or
WORKPLANE.
10
Once you have created the sketch you may wish to
view the area in 2D (from a plan view). To do
this you will need to use the VIEW ONTO icon.
Click on this button then on the surface you wish
to look at.
11
You are now able to sketch on this surface. Try
drawing a circle using the CENTRE POINT, CIRCLE
tool.
12
Try extruding into the surface now. This is
created by using the CUT icon on the extrude
menu. Choose a distance and click ok.

