Easy Steps To Use Your Makeup Sponge - PowerPoint PPT Presentation
Title:
Easy Steps To Use Your Makeup Sponge
Description:
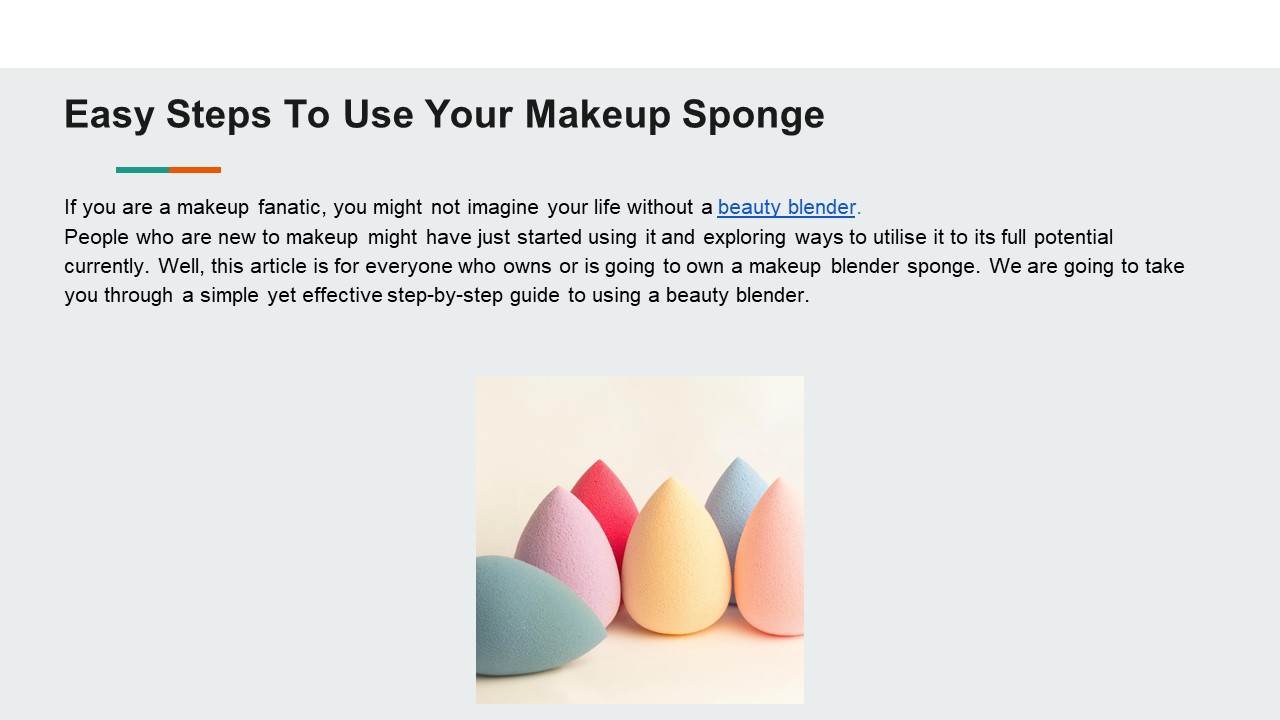
If you are a makeup fanatic, you might not imagine your life without a beauty blender. People who are new to makeup might have just started using it and exploring ways to utilise it to its full potential currently. Well, this article is for everyone who owns or is going to own a makeup blender sponge. We are going to take you through a simple yet effective step-by-step guide to using a beauty blender. – PowerPoint PPT presentation
Number of Views:2
Title: Easy Steps To Use Your Makeup Sponge
1
Easy Steps To Use Your Makeup Sponge
- If you are a makeup fanatic, you might not
imagine your life without a beauty blender. - People who are new to makeup might have just
started using it and exploring ways to utilise it
to its full potential currently. Well, this
article is for everyone who owns or is going to
own a makeup blender sponge. We are going to take
you through a simple yet effective step-by-step
guide to using a beauty blender.
2
- But first, lets discuss what is a beauty
blender? - Simply put, a makeup sponge changed the entire
ballgame of makeup application. Before the makeup
blender sponge set existed, people used brushes
(they still do!) or simply used their hands. It
is usually used to apply foundation or concealer
on your face during your makeup routine. But, you
can do so much more with it. - Read along to learn how to use a makeup sponge in
various ways and the right way to use it. - How to Use a Makeup Sponge?
- Just follow these three steps while using it -
Wet, Squeeze, Bounce! - Step No. 1 - Wet your sponge!
- This is extremely important and you cannot miss
this initial step every time you use your
blender. Hold your makeup sponge under a running
tap until it fluffs up and gets soaked
completely. It must be very well saturated to a
point where it doubles up in size. Doing so, will
not allow the blender to soak in the product and
give you an airbrushed finish.
3
- Step No. 2 - Squeeze
- Now, once your beauty blender is fully soaked in
water, squeeze the water out of it. Remember,
always apply your makeup with a damp beauty
blender. This will help you distribute the
product evenly on your face without letting the
product get absorbed in the blender. This way,
you do not waste anything and make optimal use of
both the products. - Step No. 3 - Bounce
- The third and final step is to BOUNCE. Once
youve squeezed the water out of the makeup
sponge, dip it in your favourite foundation and
start bouncing the sponge on your primed and
prepped skin. Now, remember, NEVER EVER drag or
swipe the blender while applying foundation. This
creates streaks on your face and rather than
placing the product, it wipes it off. All you
have to do is bounce the sponge on your face in
gentle motion to attain a flawless finish. Use
the pointed end for the under-eyes, nose area,
chin, etc. whereas the fluffy rounded area for
cheeks and neck. - More ways to use a Makeup Sponge in a beauty
routine - These saviours come in different shapes and
sizes. The bigger ones can be used for
foundations and concealer, whereas the smaller
ones can be used to apply cream blush, eyeshadow,
highlighters, and even nose contour. - Make sure you wash it frequently with a gentle
cleanser to avoid unwanted skin issues. We hope
these tips and tricks will help you use your
makeup blender sponge in an effective way.


