GE Aircraft Engines Measurement Fixture Redesign
1 / 1
Title:
GE Aircraft Engines Measurement Fixture Redesign
Description:
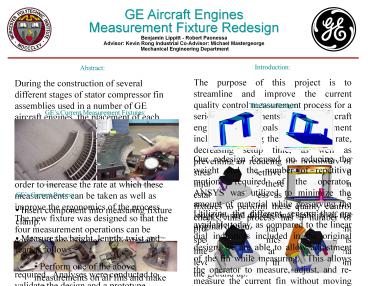
During the construction of several different stages of stator compressor fin ... the assembly needs to be ascertained very precisely on different occasions where ... –
Number of Views:73
Avg rating:3.0/5.0
Title: GE Aircraft Engines Measurement Fixture Redesign
1
GE Aircraft Engines Measurement Fixture
Redesign Benjamin Lippitt - Robert
Paonessa Advisor Kevin Rong Industrial
Co-Advisor Michael Mastergeorge Mechanical
Engineering Department
Introduction The purpose of this project is to
streamline and improve the current quality
control measurement process for a series of
components for GE Aircraft engines. The goals
for improvement include expediting the
measurement rate, decreasing setup time, as well
as preventing or reducing the possibility of
stress and repetitive motion related injuries.
While there is currently an established process
as well as existing fixtures to perform these
quality control checks, this process has a number
of problems in particular with measurement speed
and ergonomics. This project is intended to
begin at the design criteria level and redesign
this procedure from the ground up.
Abstract During the construction of several
different stages of stator compressor fin
assemblies used in a number of GE aircraft
engines, the placement of each fin in relation to
the assembly needs to be ascertained very
precisely on different occasions where on-line
measurement is necessary. The fixtures used for
this process were completely redesigned in order
to increase the rate at which these measurements
can be taken as well as improve the ergonomics of
the process. The new fixture was designed so
that the four measurement operations can be
combined into one step. Laser based sensors are
used to reduce the measurement time and operator
effort required. Analyses were conducted to
validate the design and a prototype fixture was
constructed for evaluation.
The New Design
GEs Current Measurement Fixtures
Our redesign focused on reducing the weight and
the number of repetitive motions required of the
operator. ANSYS was utilized to minimize the
amount of material while preserving the longevity
and dimensional stability of the original design.
Fin Assembly
Current Fixture in Operation
- GEs Current Process
- Insert component into measuring fixture clamp.
- Measure the height, length, twist and lean as
follows - Perform one of the above measurements on all
fins and make adjustments as necessary - Perform the second of the four measurements,
make adjustments as necessary. If any
adjustments are made any previous process will
need to be repeated for each effected fin. - Continue until all fins pass all measurement
requirements.
Utilizing the different sensors that are
available today, as compared to the linear dial
indicators included in the original design, we
are able to allow adjustment of the fin while
measuring. This allows the operator to measure,
adjust, and re-measure the current fin without
moving or changing the fixture.
Length Gauge
Lean Gauge
Twist Gauge
Height Gauge


